Posted by
Easy WoodCraft on
Mar 29, 2017
In addition to cleaning up mortises and tenons, I routinely use a chisel to fine-tune grooves, rabbets, dadoes, and other joints.
Paring sides
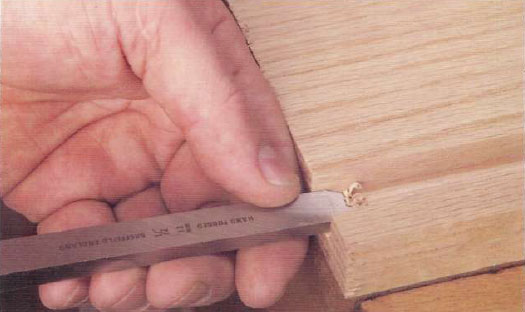
One of the more common paring tasks is removing just a bit of material from the side of a groove or other joint. Whenever possible, I use the blade grip for this and take a slicing cut (
right photo). This offers a couple of advantages over the more conventional vertical paring stroke. First, skewing the blade creates a cleaner shearing cut. Also, it makes it easy to slide the flat back of the chisel along the side of the groove or dado as a steady starting point. This way you start with a very light cut and ease into the waste.
Ends of the groove
Whether a groove is cut by hand or by machine, there's often a tendency for the final few inches of the groove to be the incorrect depth. This can be caused by letting up on the workpiece as it passes over a spinning bit or blade, or by easing pressure near the end of a cut made by hand. To correct the depth, I use an underhand grip and pare away the waste with a series of light cuts (
left photo).
See Paring Chisels for a handy tip on using a gauge block to gauge the depth accurately.
Cleaning up the bottom
Cleaning up the bottom of a groove is fairly straightforward. Here again, flip the chisel so the bevel is down, and run it along the bottom (
bottom photo). Inverting the bevel like this prevents it from catching and digging into the groove.
Thanks for reading Trimming Grooves. Please share...!


